Jody works in the hospitality industry in California and was asking how to include terms and conditions (Ts and Cs) on her Purchase Order form in the Free Version of SpendMap.
Short Terms Text
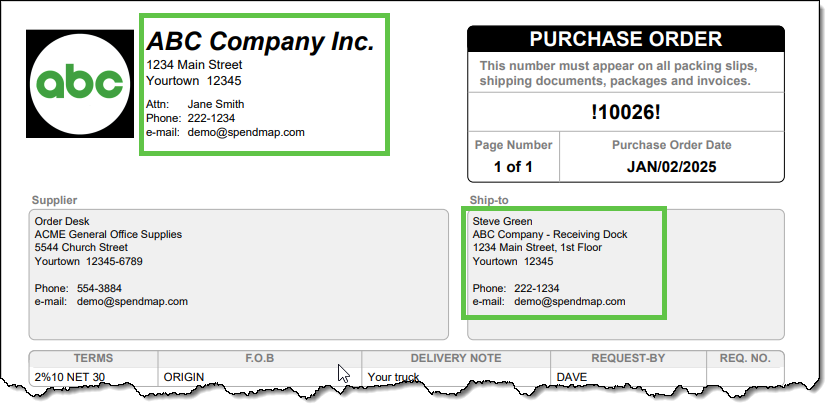
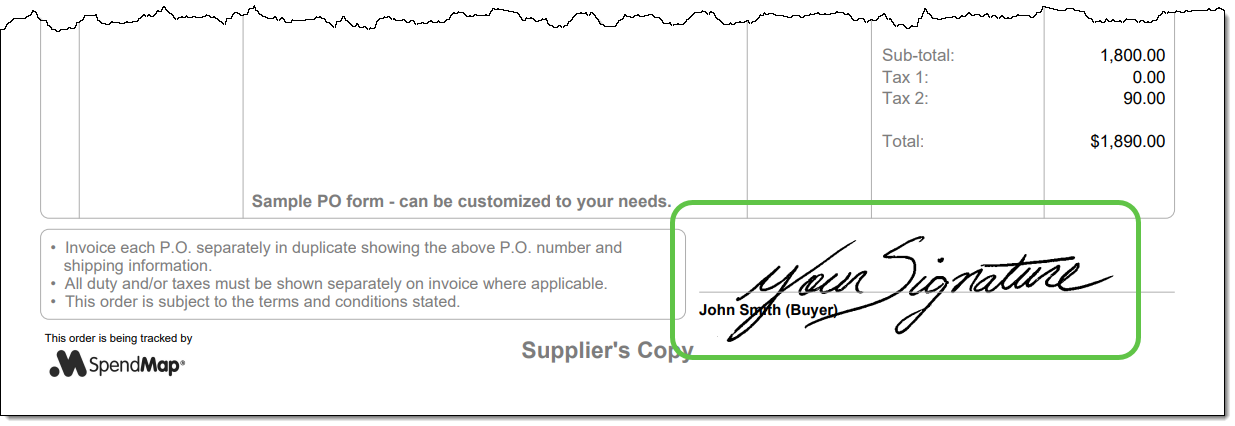
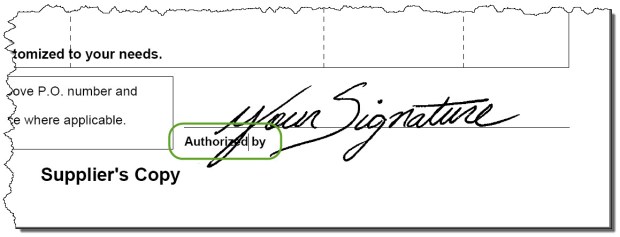
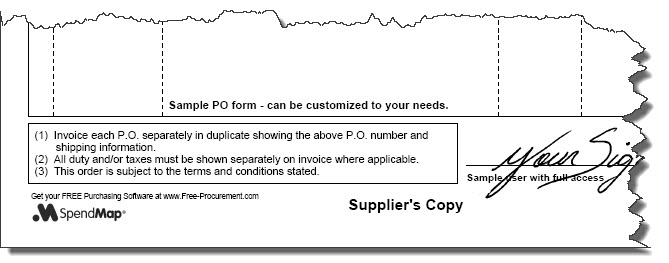
If you just need a few lines of text, try using the Short Terms Text in PO Printing Settings. The text will be included at the bottom of the PO form, next to your signature line. Here’s the menu where you can find the setting…
– Setup System (“wrench” icon at top of Main Menu) > Purchase order settings > PO printing settings > Settings
Separate (Long) Terms and Conditions Page
If you need more than just a few lines of text, you can create a full Terms and Conditions Page that will automatically accompany each PO that is printed or e-mailed to your suppliers.
Just select the option “Terms Page?”, and then click the [Setup Your Terms Page] button and either 1) enter the text for your Terms Page, or 2) if you already have an existing Terms Page, you can scan it and upload it into SpendMap as an image file.