Ed wants to use the free version of SpendMap to track costs to projects/jobs at his engineering and construction company in Iowa. Ed asked…
“Is it possible to set up the Chart of Accounts to do Job Costing. I would like to report on Job Number, then Labor, Material, Equipment, Subcontractor, Other and Tax. Many Job numbers, but always the same cost categories.”
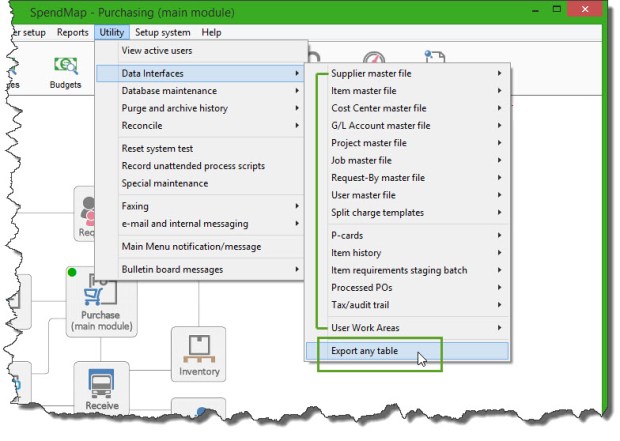
Yes. You can learn all about the various “account code” fields, and how you can track charges to those accounts, in the following section of the Online Help…
– System-Wide Features and Information > Master Files > Account Coding (Overview & Guidelines)
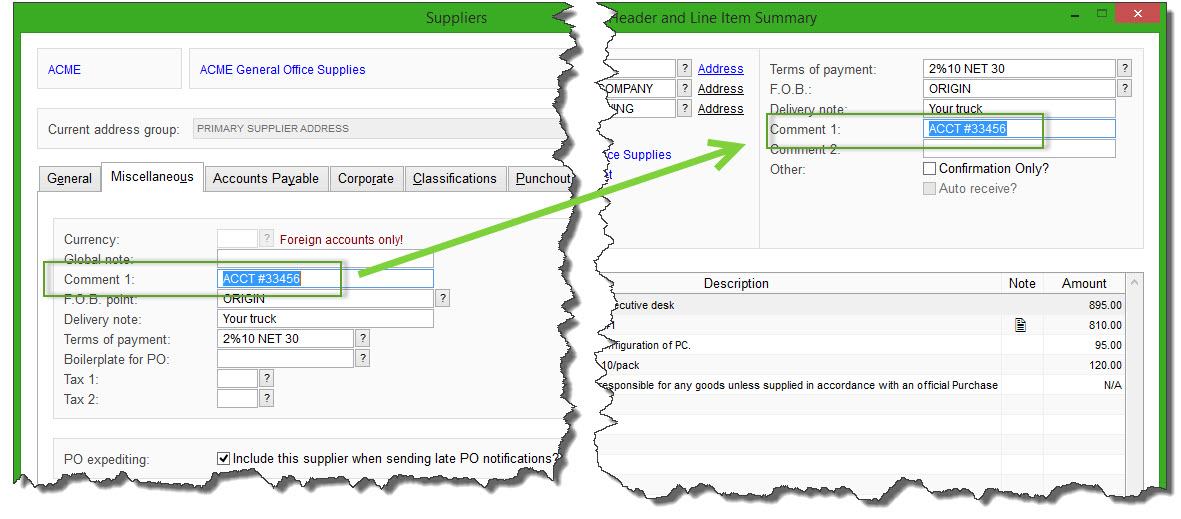
Ed would likely rename the Cost Center field to “Job”, and the GL field to “Cost Category” (or similar). All the account code fields are user-definable, so you can rename their titles, but “cost center” is typically used to track “who or what” is using the item being purchased (Jobs in this case), while GL Account is usually used to indicate the type of item being purchased (what Ed describes as “cost categories”).
For more about why we normally suggest using the Cost Center and GL fields specifically rather than the other account code fields (one of which is already called “Job” by default), please see the subsection “Account Code Fields and Segmentation”, and specifically the link for “About Cost Centers and G/L Accounts” in the above section of the Help.
“Also, could the system report against a budget in each of the categories?”
Yes, you can track and report on your budgets, by Cost Center (Job) and by GL (cost category) within each Job. For more details, please see this section of the Help…
– System-Wide Features and Information > System-Wide Features and Utilities > Cost Center History and Budgets (About)
And if you’d like to see an example of how to set this up, just go into your Evaluation Copy of SpendMap (the one with the sample data) and take a look at the [Matching G/L Accounts/Budgets] Folder, for the Cost Center “SYSTEMS” (IT Department), in here…
– PURCHASING > Master Files > Cost Centers > Add/Modify/Delete
You will see that the SYSTEMS Cost Center has separate GL-level budgets specified for various types of “spend categories”, like IT purchases, office supplies and freight charges.